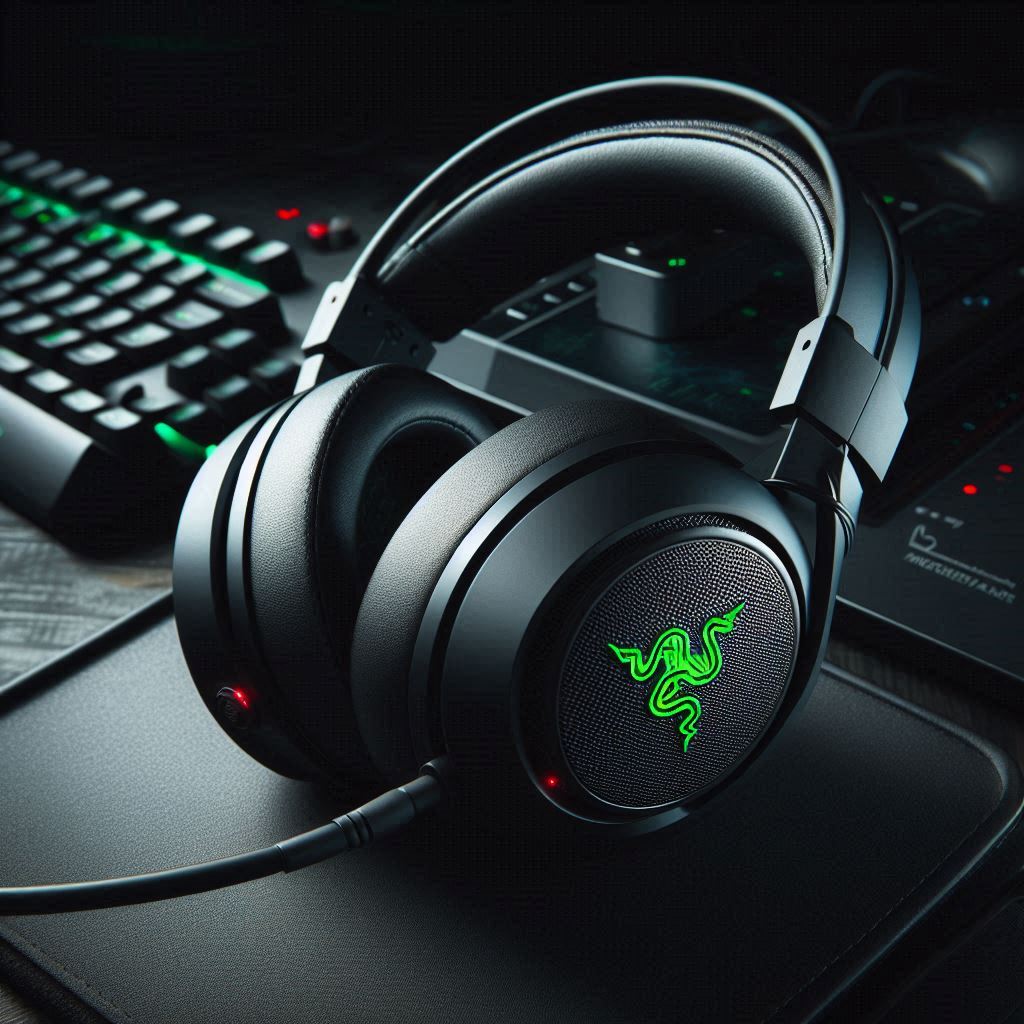
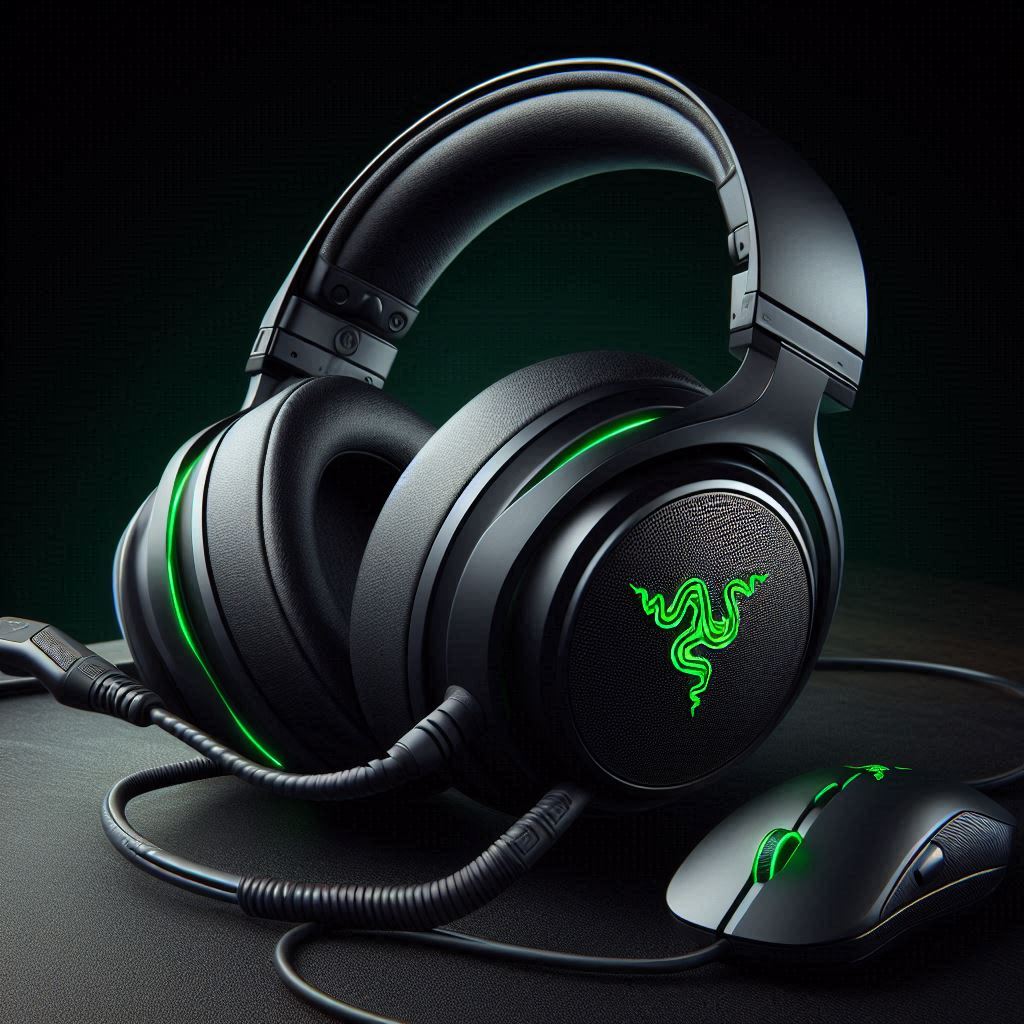
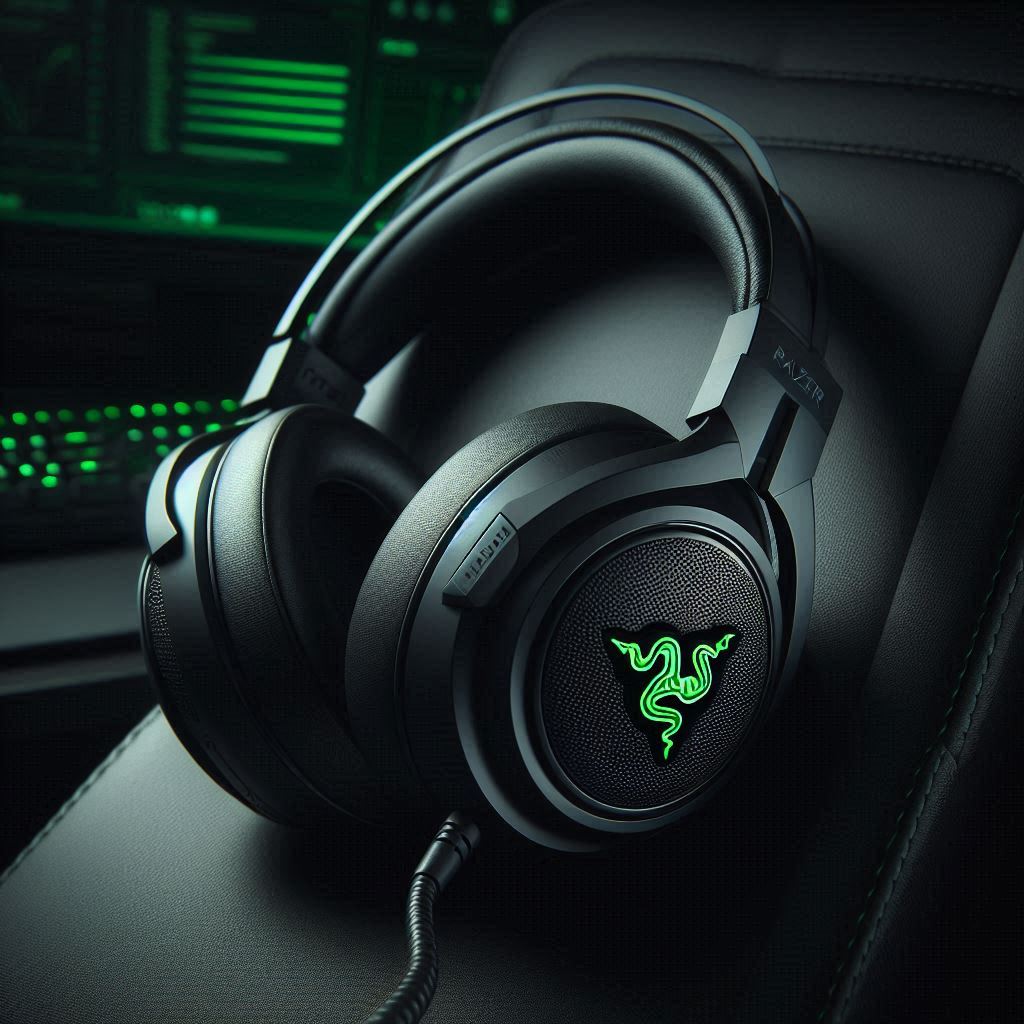
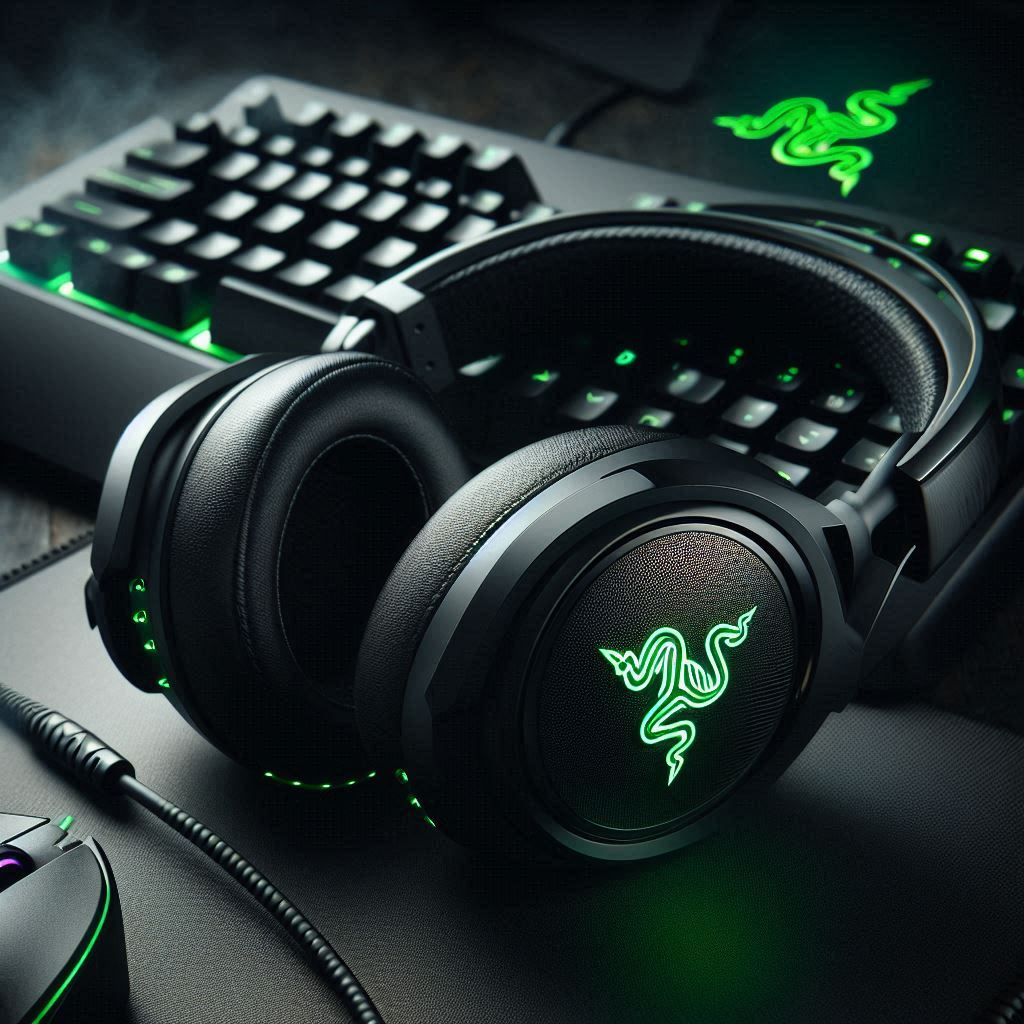
If you’re a gamer, you know how important quality sound is for an immersive experience. Whether you’re tracking enemy footsteps, communicating with teammates, or enjoying rich in-game soundscapes, a reliable gaming headset can make all the difference. The Razer BlackShark V2 X is designed to deliver exceptional audio performance at an affordable price. This guide will help you set up your headset for optimal performance and explore how to get the most out of its features.
Why Choose the Razer BlackShark V2 X?
The Razer BlackShark V2 X has quickly become a favorite among gamers. Here’s why:
- Lightweight design: At just 240 grams, it’s incredibly light and comfortable for long gaming sessions.
- 7.1 Surround Sound: Offers positional audio, allowing you to hear your enemies before they see you.
- TriForce 50mm Drivers: Delivers sharp highs, clear mids, and deep bass for a balanced sound.
- Comfortable ear cushions: Made with memory foam and leatherette to minimize ear fatigue.
- Crystal-clear microphone: Its cardioid microphone picks up your voice clearly, filtering out background noise.

Key Features at a Glance
- 7.1 Surround Sound
- Lightweight, ergonomic design
- Cross-platform compatibility
- Passive noise cancellation
- Crystal-clear microphone quality
Unboxing the Razer BlackShark V2 X
Before diving into the setup, let’s take a moment to unbox your new Razer BlackShark V2 X:
- Box Contents:
- Razer BlackShark V2 X headset
- Quick start guide
- 3.5mm audio jack
- Splitter cable for PC use (for separate audio/mic jacks)
- Warranty information
The headset itself is sleek, lightweight, and immediately comfortable when worn. Now, let’s set it up.
Setting Up the Razer BlackShark V2 X
Step 1: Connecting Your Headset
The Razer BlackShark V2 X is compatible with a wide range of devices, including PCs, gaming consoles (PS4, PS5, Xbox One, Xbox Series X), and mobile devices.
For PC Setup:
- Plug in the 3.5mm Audio Jack: Connect the single 3.5mm jack into your PC’s headphone port.
- Use the Splitter Cable (Optional): If your PC has separate audio and microphone jacks, use the provided splitter cable to connect the mic and headphone audio separately.
For Consoles:
- PS4/PS5 Setup: Simply plug the 3.5mm jack into your DualShock 4 or DualSense controller.
- Xbox Setup: Insert the 3.5mm jack into the controller’s headphone port. No additional setup is needed.
- Nintendo Switch Setup: Plug the headset into the 3.5mm port on your Switch console or controller.
For Mobile Devices:
- Insert the 3.5mm jack directly into the headphone port of your smartphone or tablet. If your device lacks a headphone port, use a suitable adapter.
Step 2: Configuring Surround Sound on PC
The Razer BlackShark V2 X supports 7.1 Surround Sound, but you’ll need to activate it on your PC.
- Download Razer Surround Sound Software:
- Visit the official Razer website and download the 7.1 Surround Sound software. The software is available for free with the Razer BlackShark V2 X.
- Install the Software:
- Once downloaded, install the software and follow the on-screen instructions.
- Activate Surround Sound:
- Open the Surround Sound software, enter the activation code provided with your headset, and configure the audio settings to your liking.
- You can also adjust volume levels for specific sound channels, optimizing audio for gaming or movies.

Step 3: Adjusting Audio Settings for Gaming
Once everything is connected, you’ll want to tweak your audio settings for the best performance.
- Game Sound Optimization:
- Open the settings in your game, navigate to the audio section, and enable 7.1 Surround Sound if the game supports it.
- Adjust sound balance to ensure a clear distinction between game audio and chat, particularly in multiplayer games.
- Microphone Settings:
- On PC, right-click the sound icon in the taskbar, select Sounds, then go to the Recording tab.
- Select your microphone and click Properties.
- Increase the microphone volume and sensitivity to ensure clear communication.
Performance Review: Sound, Comfort, and Microphone
Now that your Razer BlackShark V2 X is set up, let’s evaluate its performance across three key areas: sound quality, comfort, and microphone clarity.
1. Sound Quality
The Razer BlackShark V2 X delivers powerful, immersive sound with its TriForce 50mm drivers. Whether you’re playing a fast-paced shooter or a slow-paced RPG, the audio performance stands out. Here’s what makes it impressive:
- Clear Highs, Mids, and Lows: The three-part audio system ensures distinct treble, midrange, and bass, giving you an advantage in picking up even the slightest in-game sounds.
- 7.1 Surround Sound: In competitive games, this feature helps you identify the exact location of your enemies.
2. Comfort During Long Sessions
A lightweight headset is essential for marathon gaming sessions, and the Razer BlackShark V2 X excels in this area.
- Memory Foam Ear Cushions: These prevent discomfort over time, even after several hours of use.
- Lightweight Build: At just 240 grams, the headset is barely noticeable, reducing neck strain.
3. Microphone Quality
Clear communication is vital in multiplayer games. The Razer BlackShark V2 X microphone offers excellent voice clarity and filters out background noise effectively.
- Noise Cancellation: The microphone’s cardioid pattern isolates your voice, making it crystal-clear for teammates while minimizing unwanted noise.
- Microphone Placement: The boom mic is flexible and can be easily adjusted for the perfect speaking position.

FAQs About the Razer BlackShark V2 X
Q1: Does the Razer BlackShark V2 X work with the PS5 and Xbox Series X?
Yes, the headset is compatible with both the PS5 and Xbox Series X, as well as the previous generation of consoles.
Q2: How do I enable 7.1 Surround Sound on my PC?
Download the Razer Surround Sound software from the Razer website, activate it using the code that comes with your headset, and configure it through the app.
Q3: Can I use the Razer BlackShark V2 X with my smartphone?
Yes, the headset is compatible with any device that has a 3.5mm audio port. For newer smartphones without a headphone jack, you’ll need an adapter.
Q4: Is the Razer BlackShark V2 X good for streaming?
Yes, the crystal-clear microphone and noise cancellation make it a great choice for streamers who need a clear voice for communicating with their audience.
Q5: Is there a way to adjust the microphone volume?
Yes, you can adjust the microphone volume through your PC’s audio settings or through in-game audio settings.
Pro Tips for Maximizing Your Experience
- Use Custom Audio Profiles: Some games allow you to customize audio profiles. Create one that prioritizes sound effects or voices for a more immersive experience.
- Regularly Clean the Ear Cushions: This ensures that your headset stays comfortable and maintains its noise-canceling properties.
- Check for Software Updates: Periodically check for updates to the Razer Surround Sound software to ensure you have the latest features and optimizations.
Conclusion
The Razer BlackShark V2 X is an excellent choice for gamers who want high-quality sound, comfort, and performance without breaking the bank. Its 7.1 Surround Sound, lightweight design, and clear microphone make it perfect for long gaming sessions and competitive play. With easy setup and compatibility across platforms, it’s a versatile option for any gamer.
By following the steps in this guide, you’ll ensure your Razer BlackShark V2 X is performing at its best, providing you with the edge you need to dominate the battlefield.
Feel free to reach out if you have more questions, and happy gaming!
